Thanksgiving 2025

For our Thanksgiving celebration recently, we put together the following menu:

Serving Suggestion
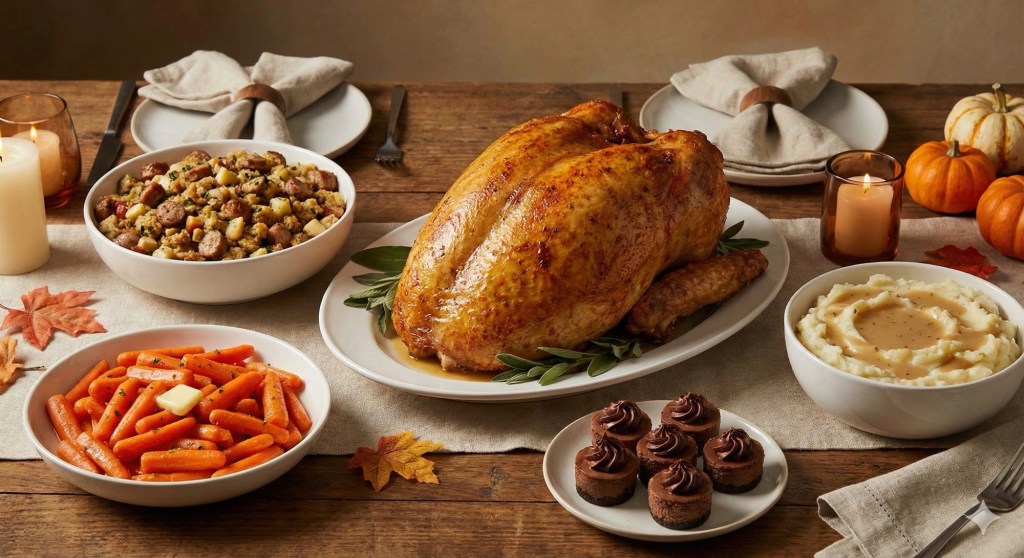
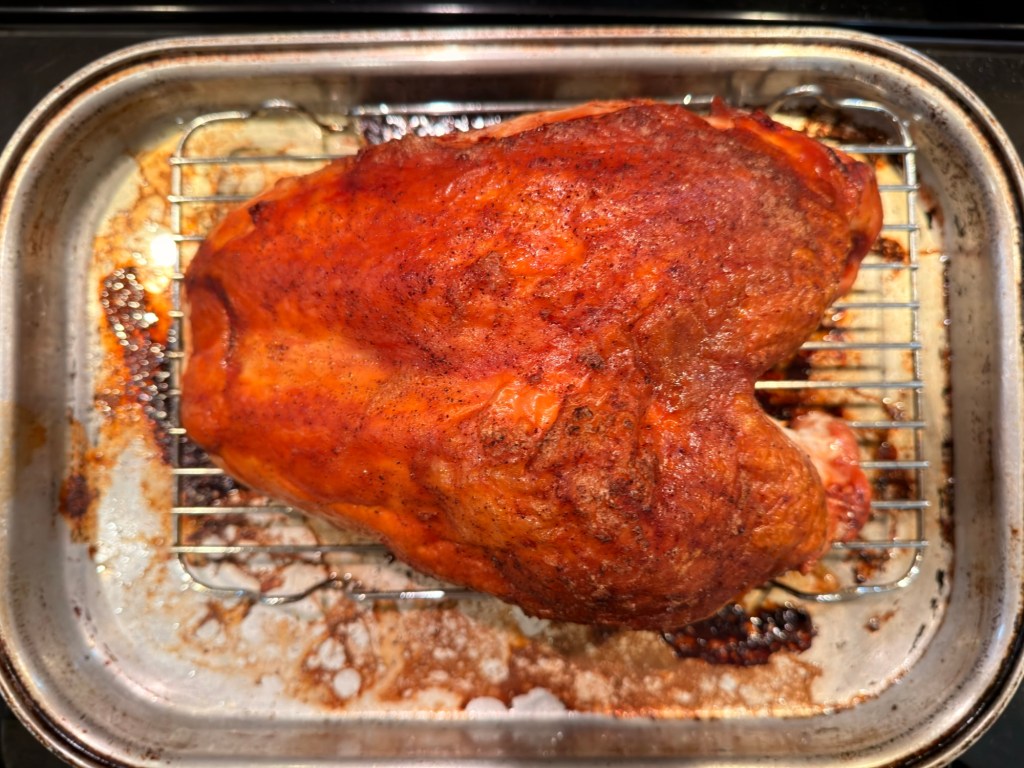
  • Diestel Bone-in Organic Turkey Breast – 6 lbs. Used the recommended “rub” (a couple of tablespoons of olive oil, some salt, and smoked paprika) before putting into a pre-heated 325 degree oven. Came out perfectly at 165 degrees internal temperature after two hours. We let the turkey breast rest for 30 minutes while the stuffing (below) cooked in the same oven. Compared to roasting a full bird, this bone-in breast was a simpler, faster way to go! See: https://diestelturkey.com/products/organic-bone-in-turkey-breast
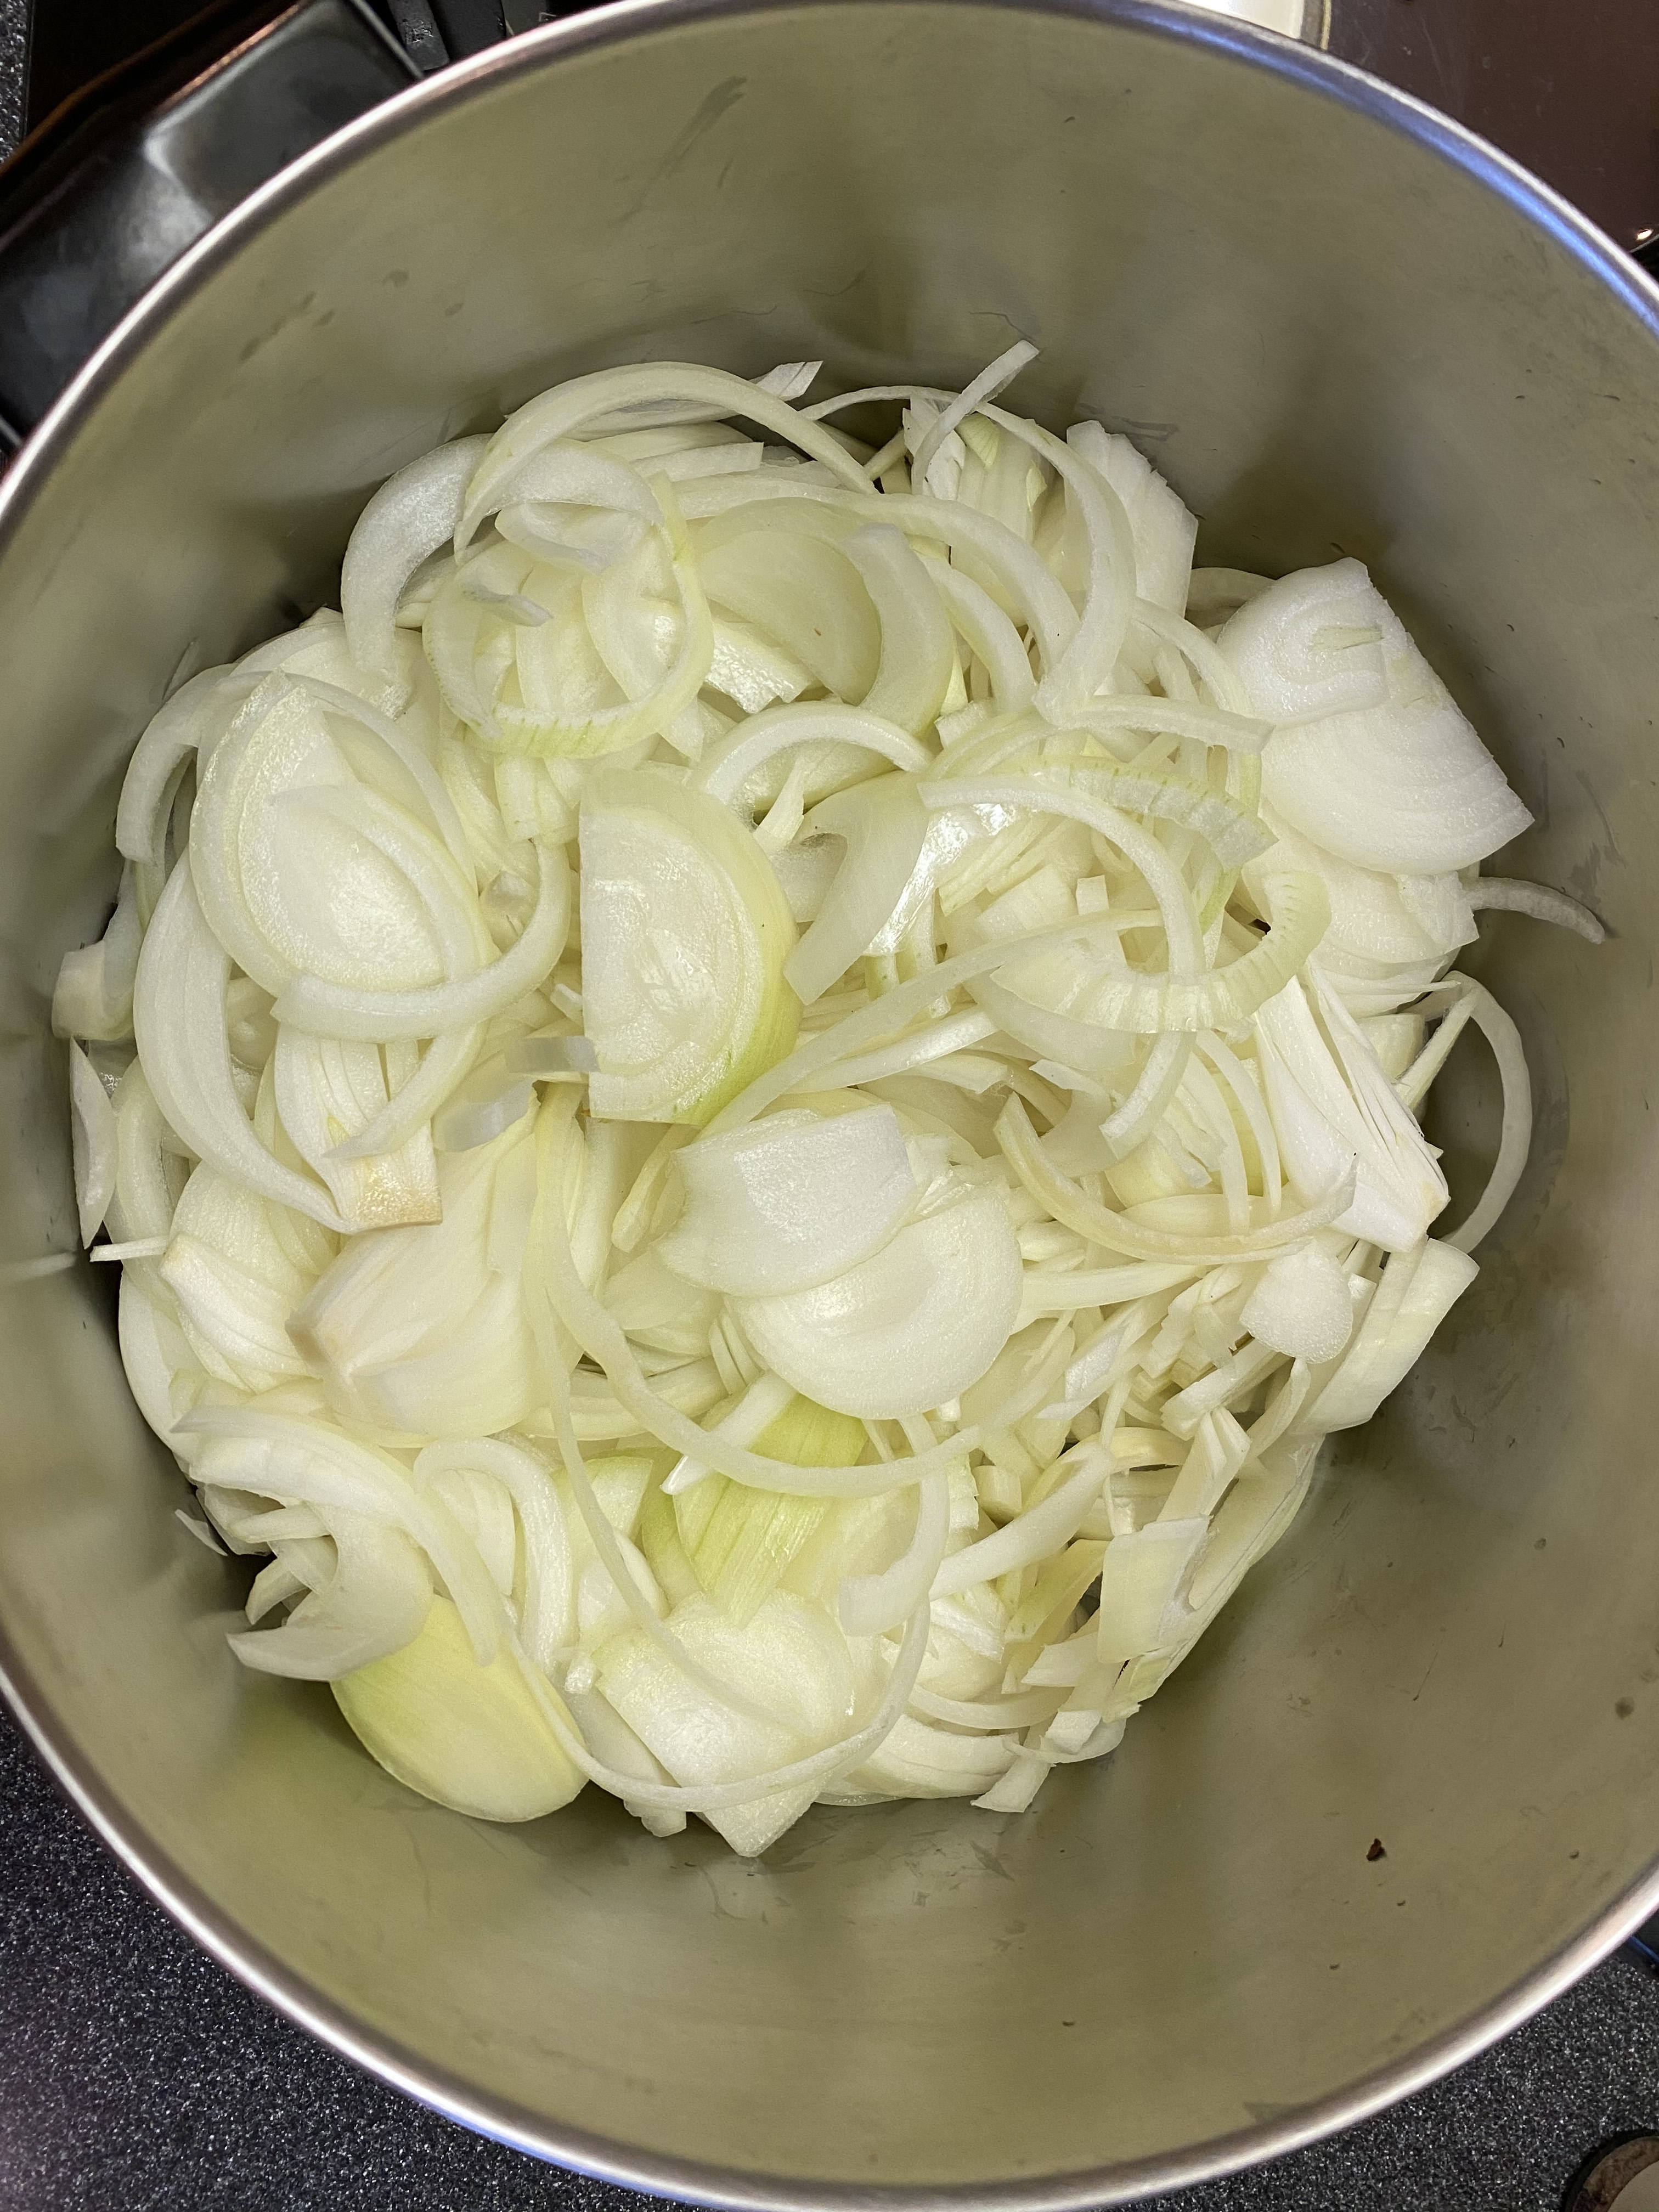
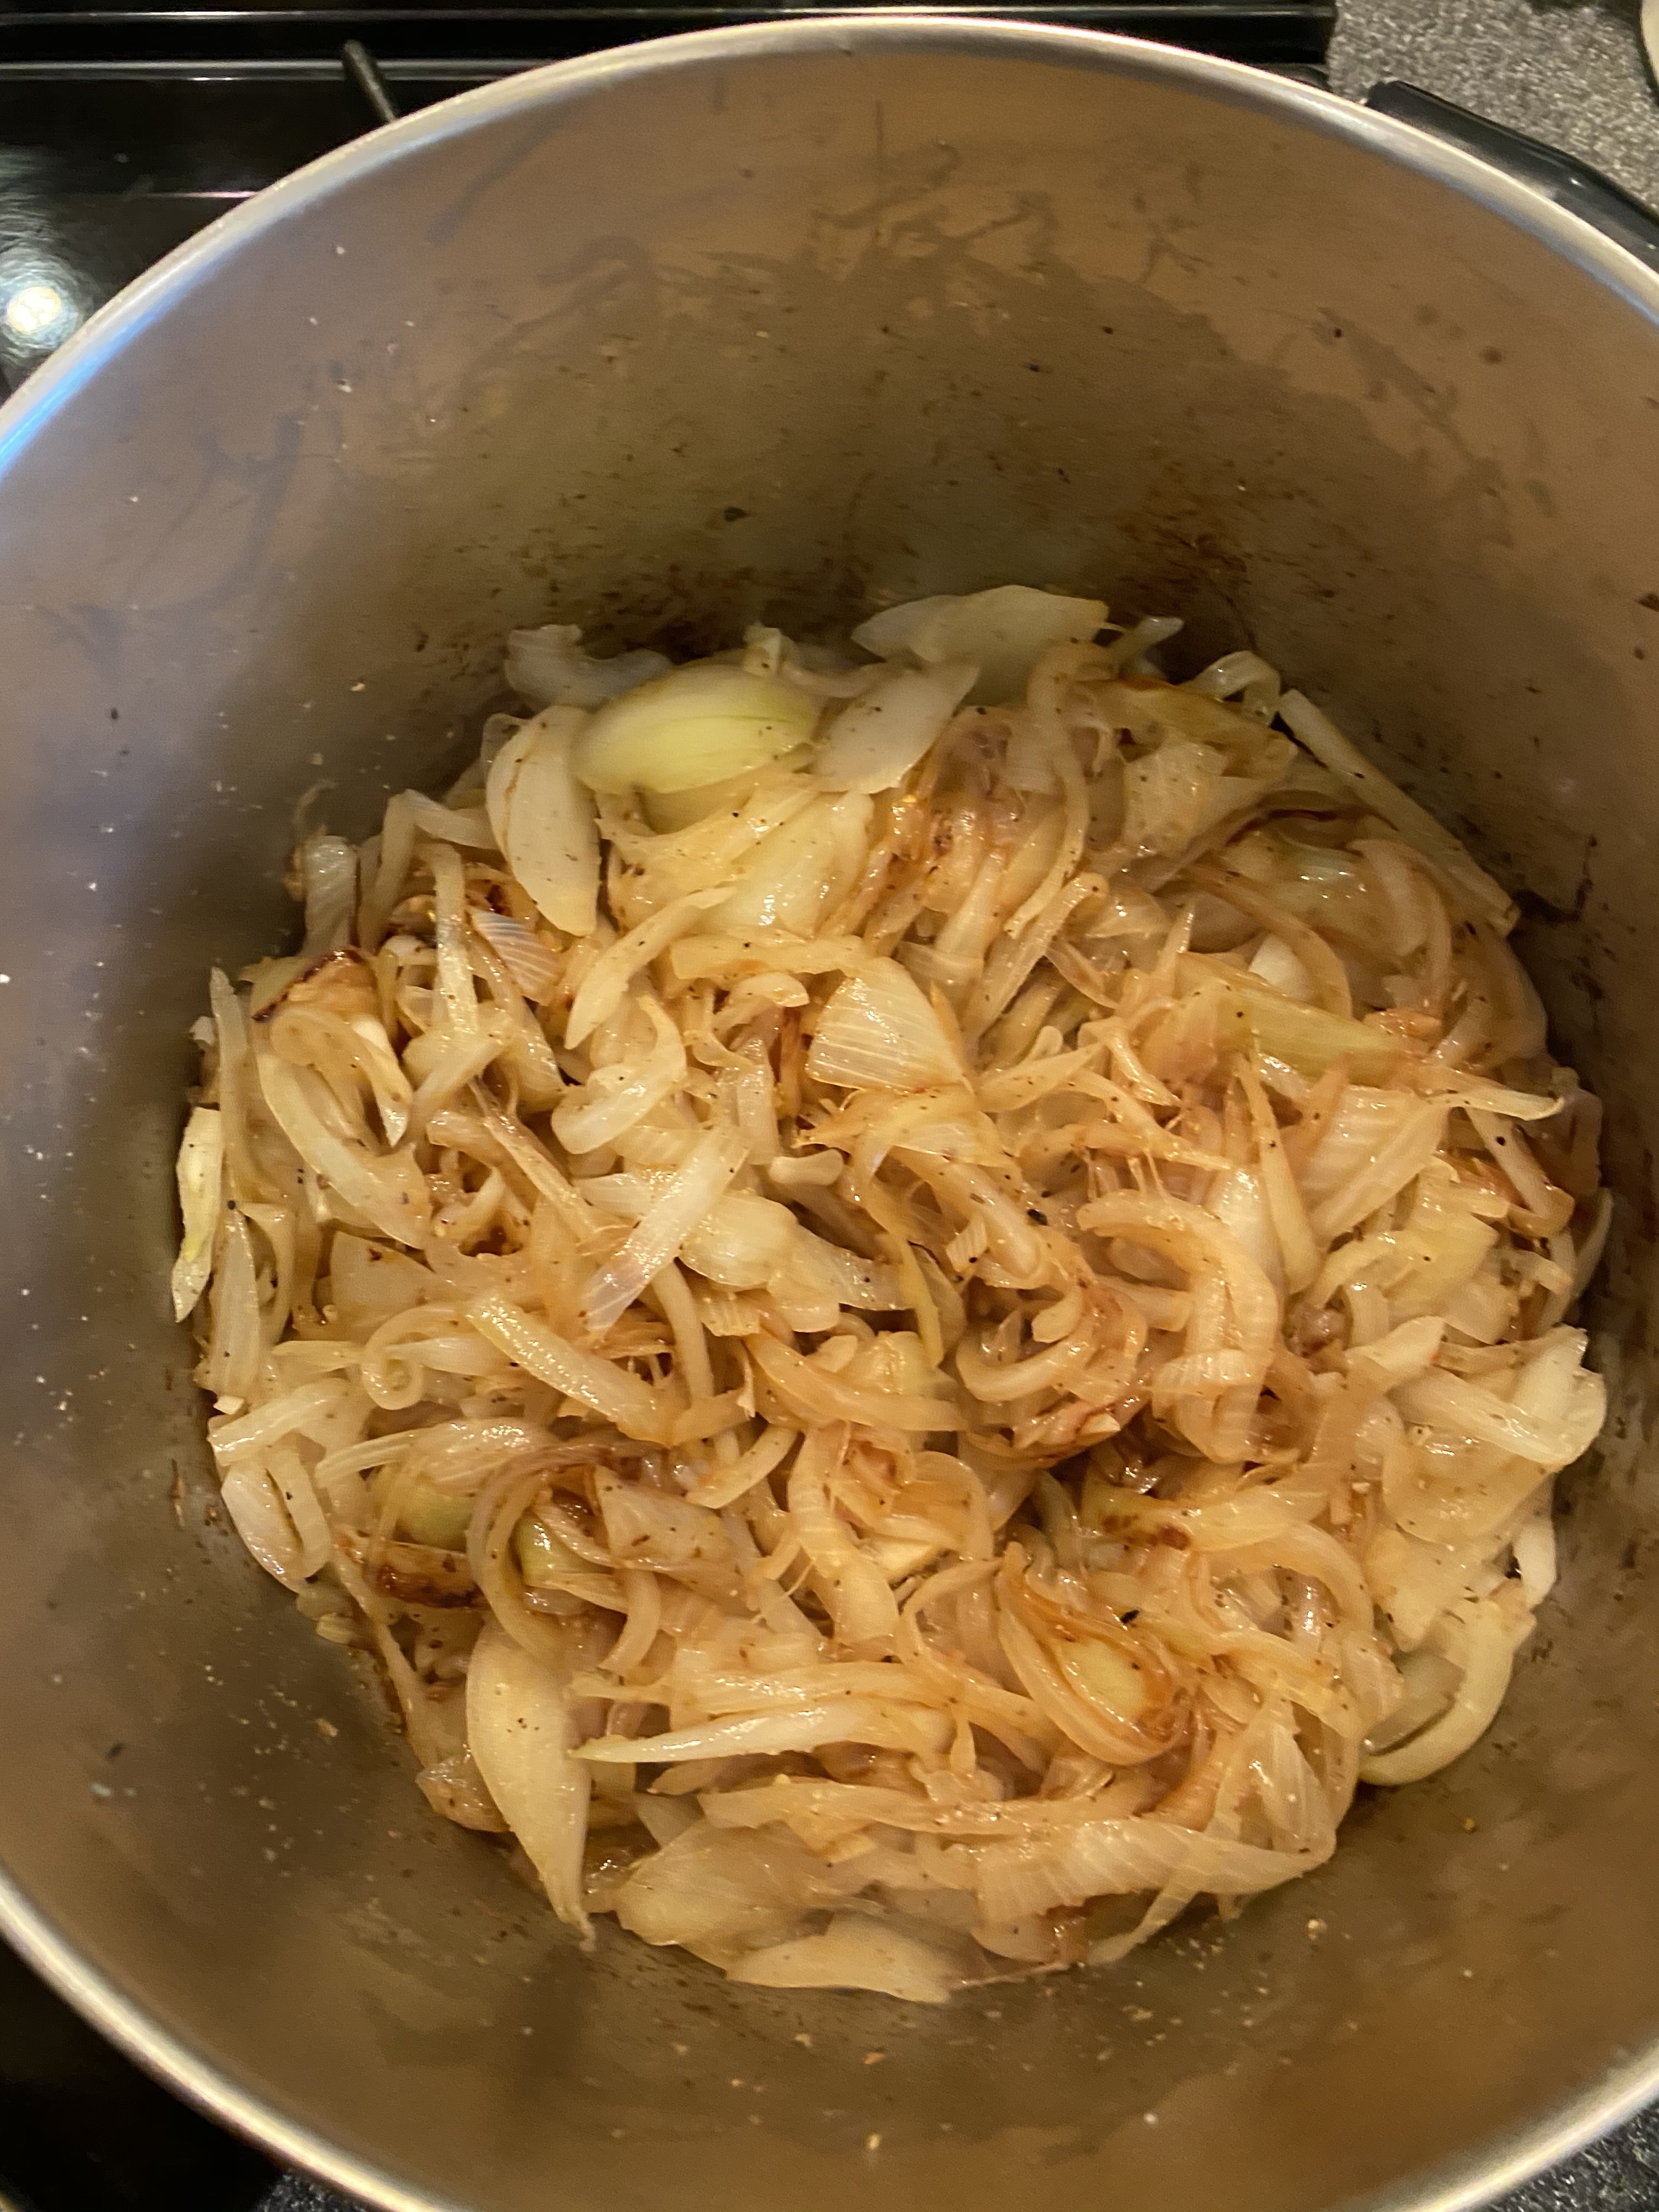
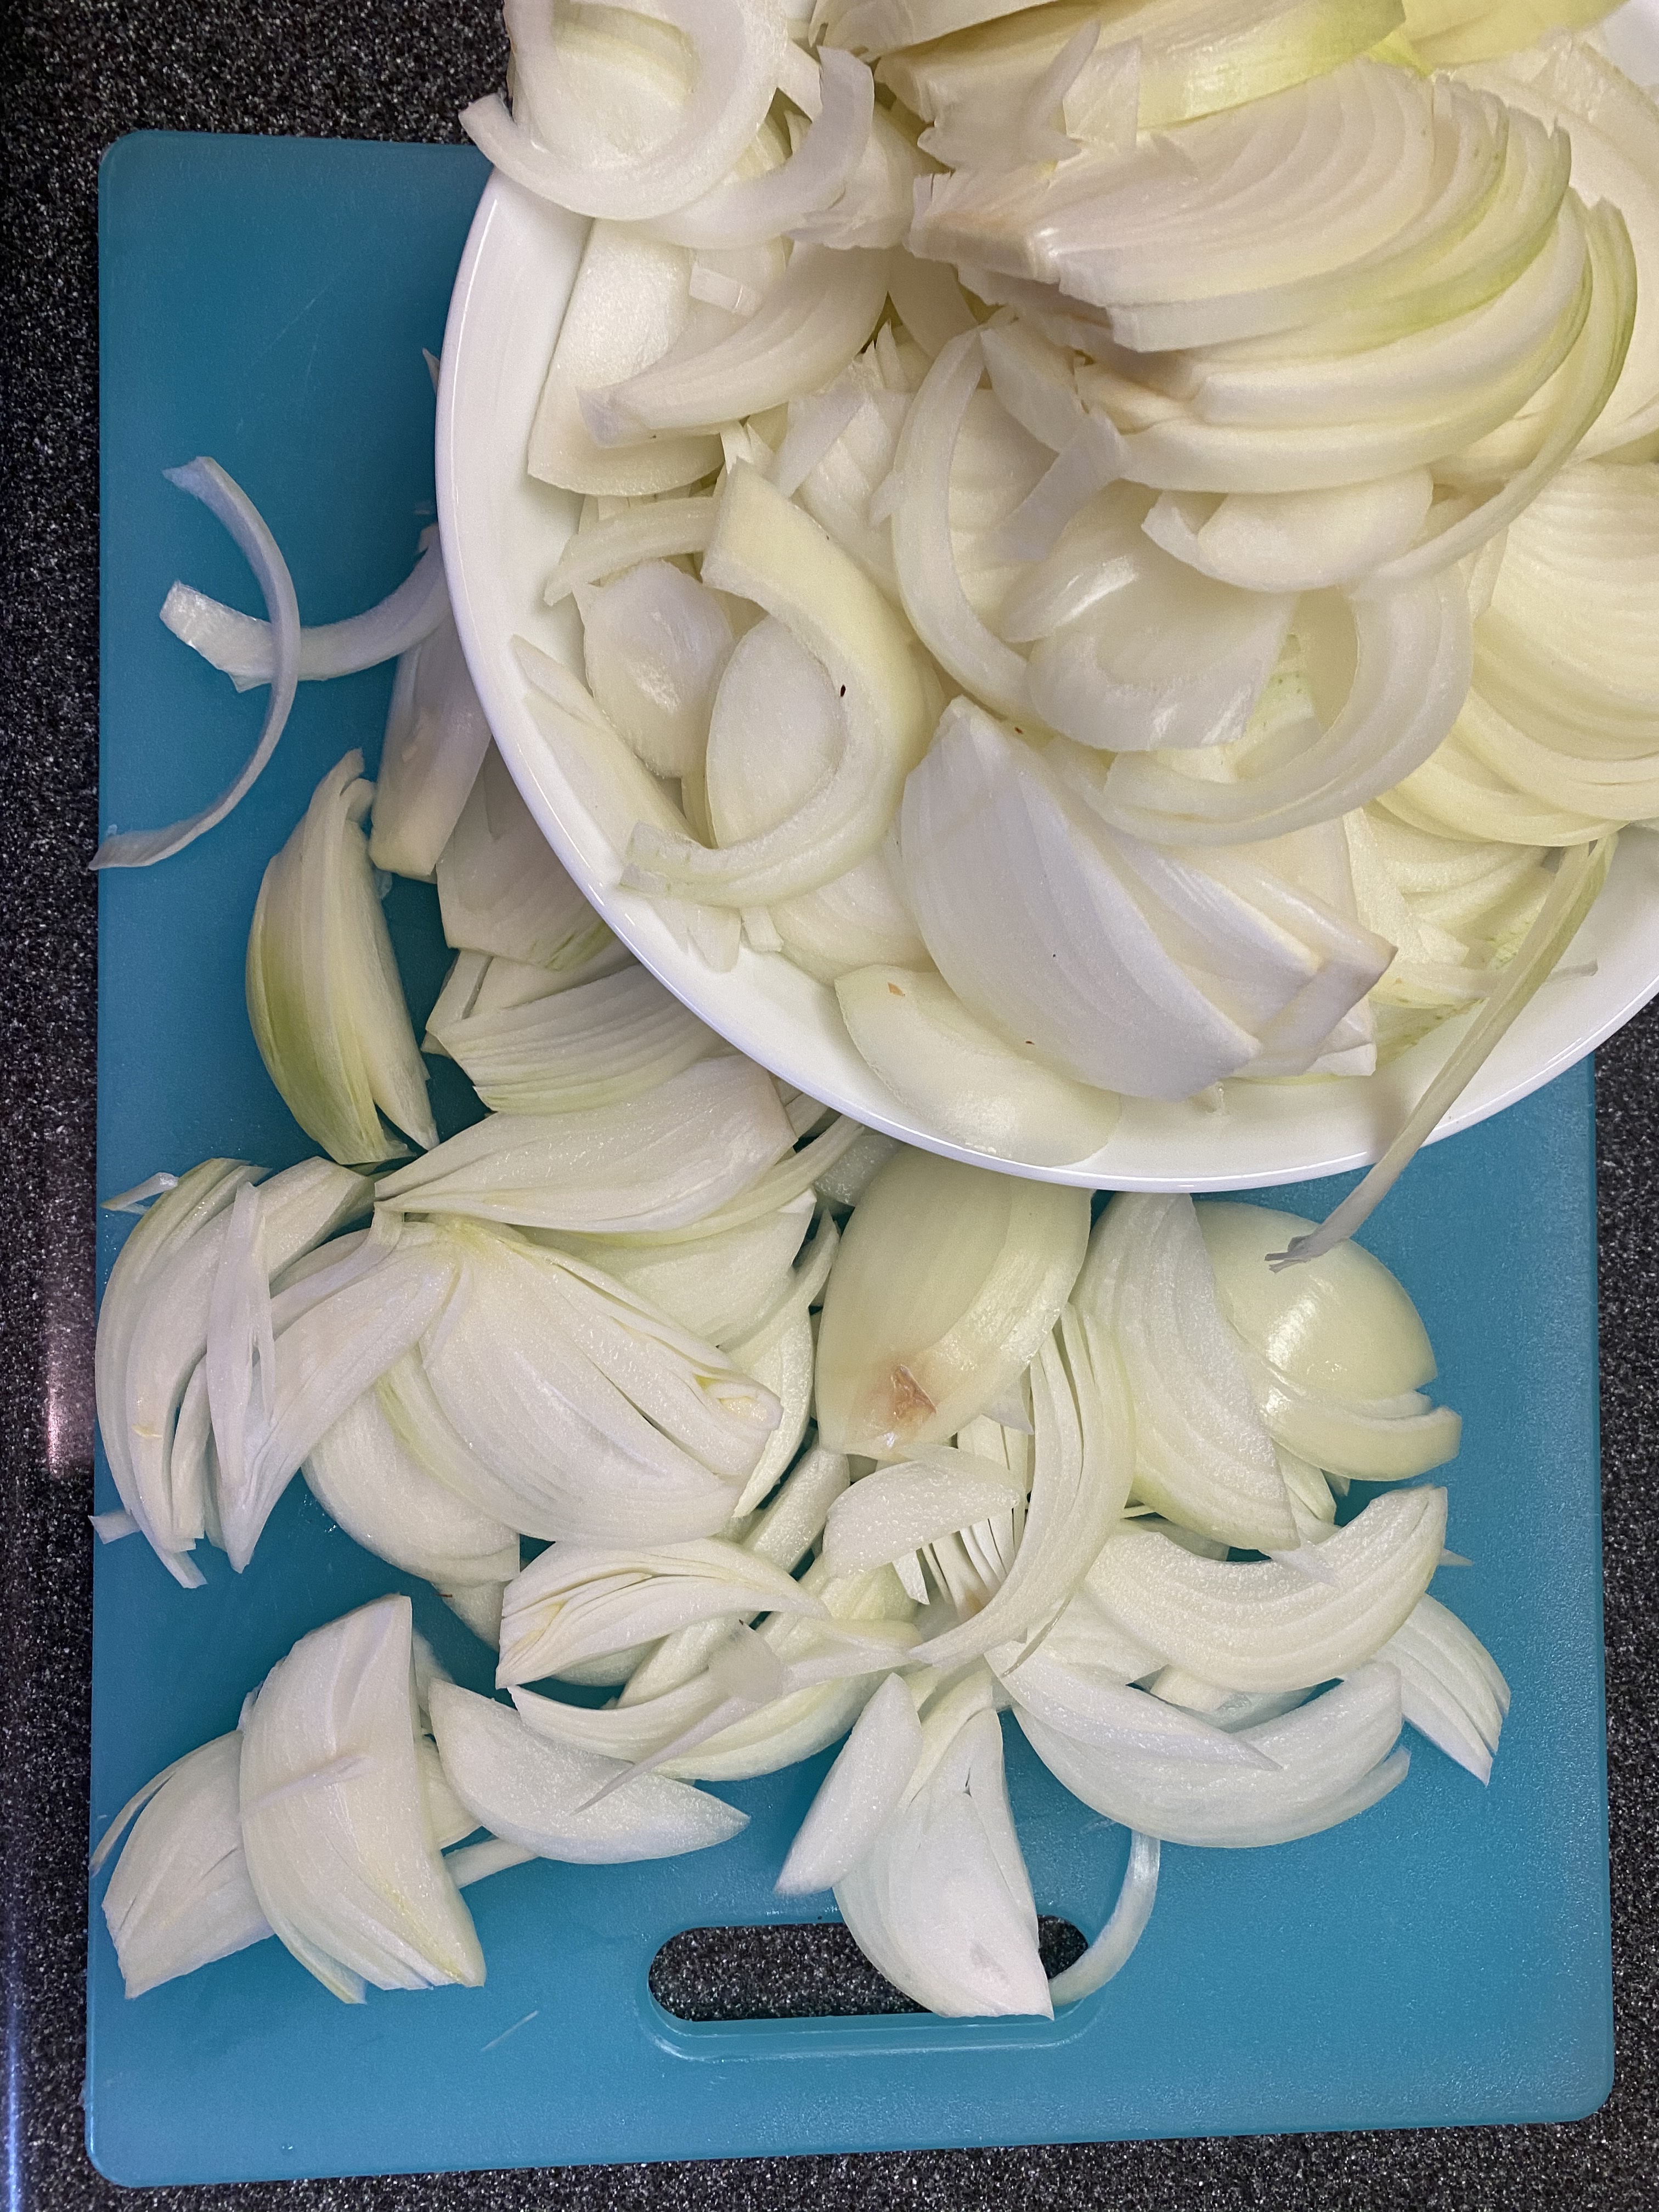
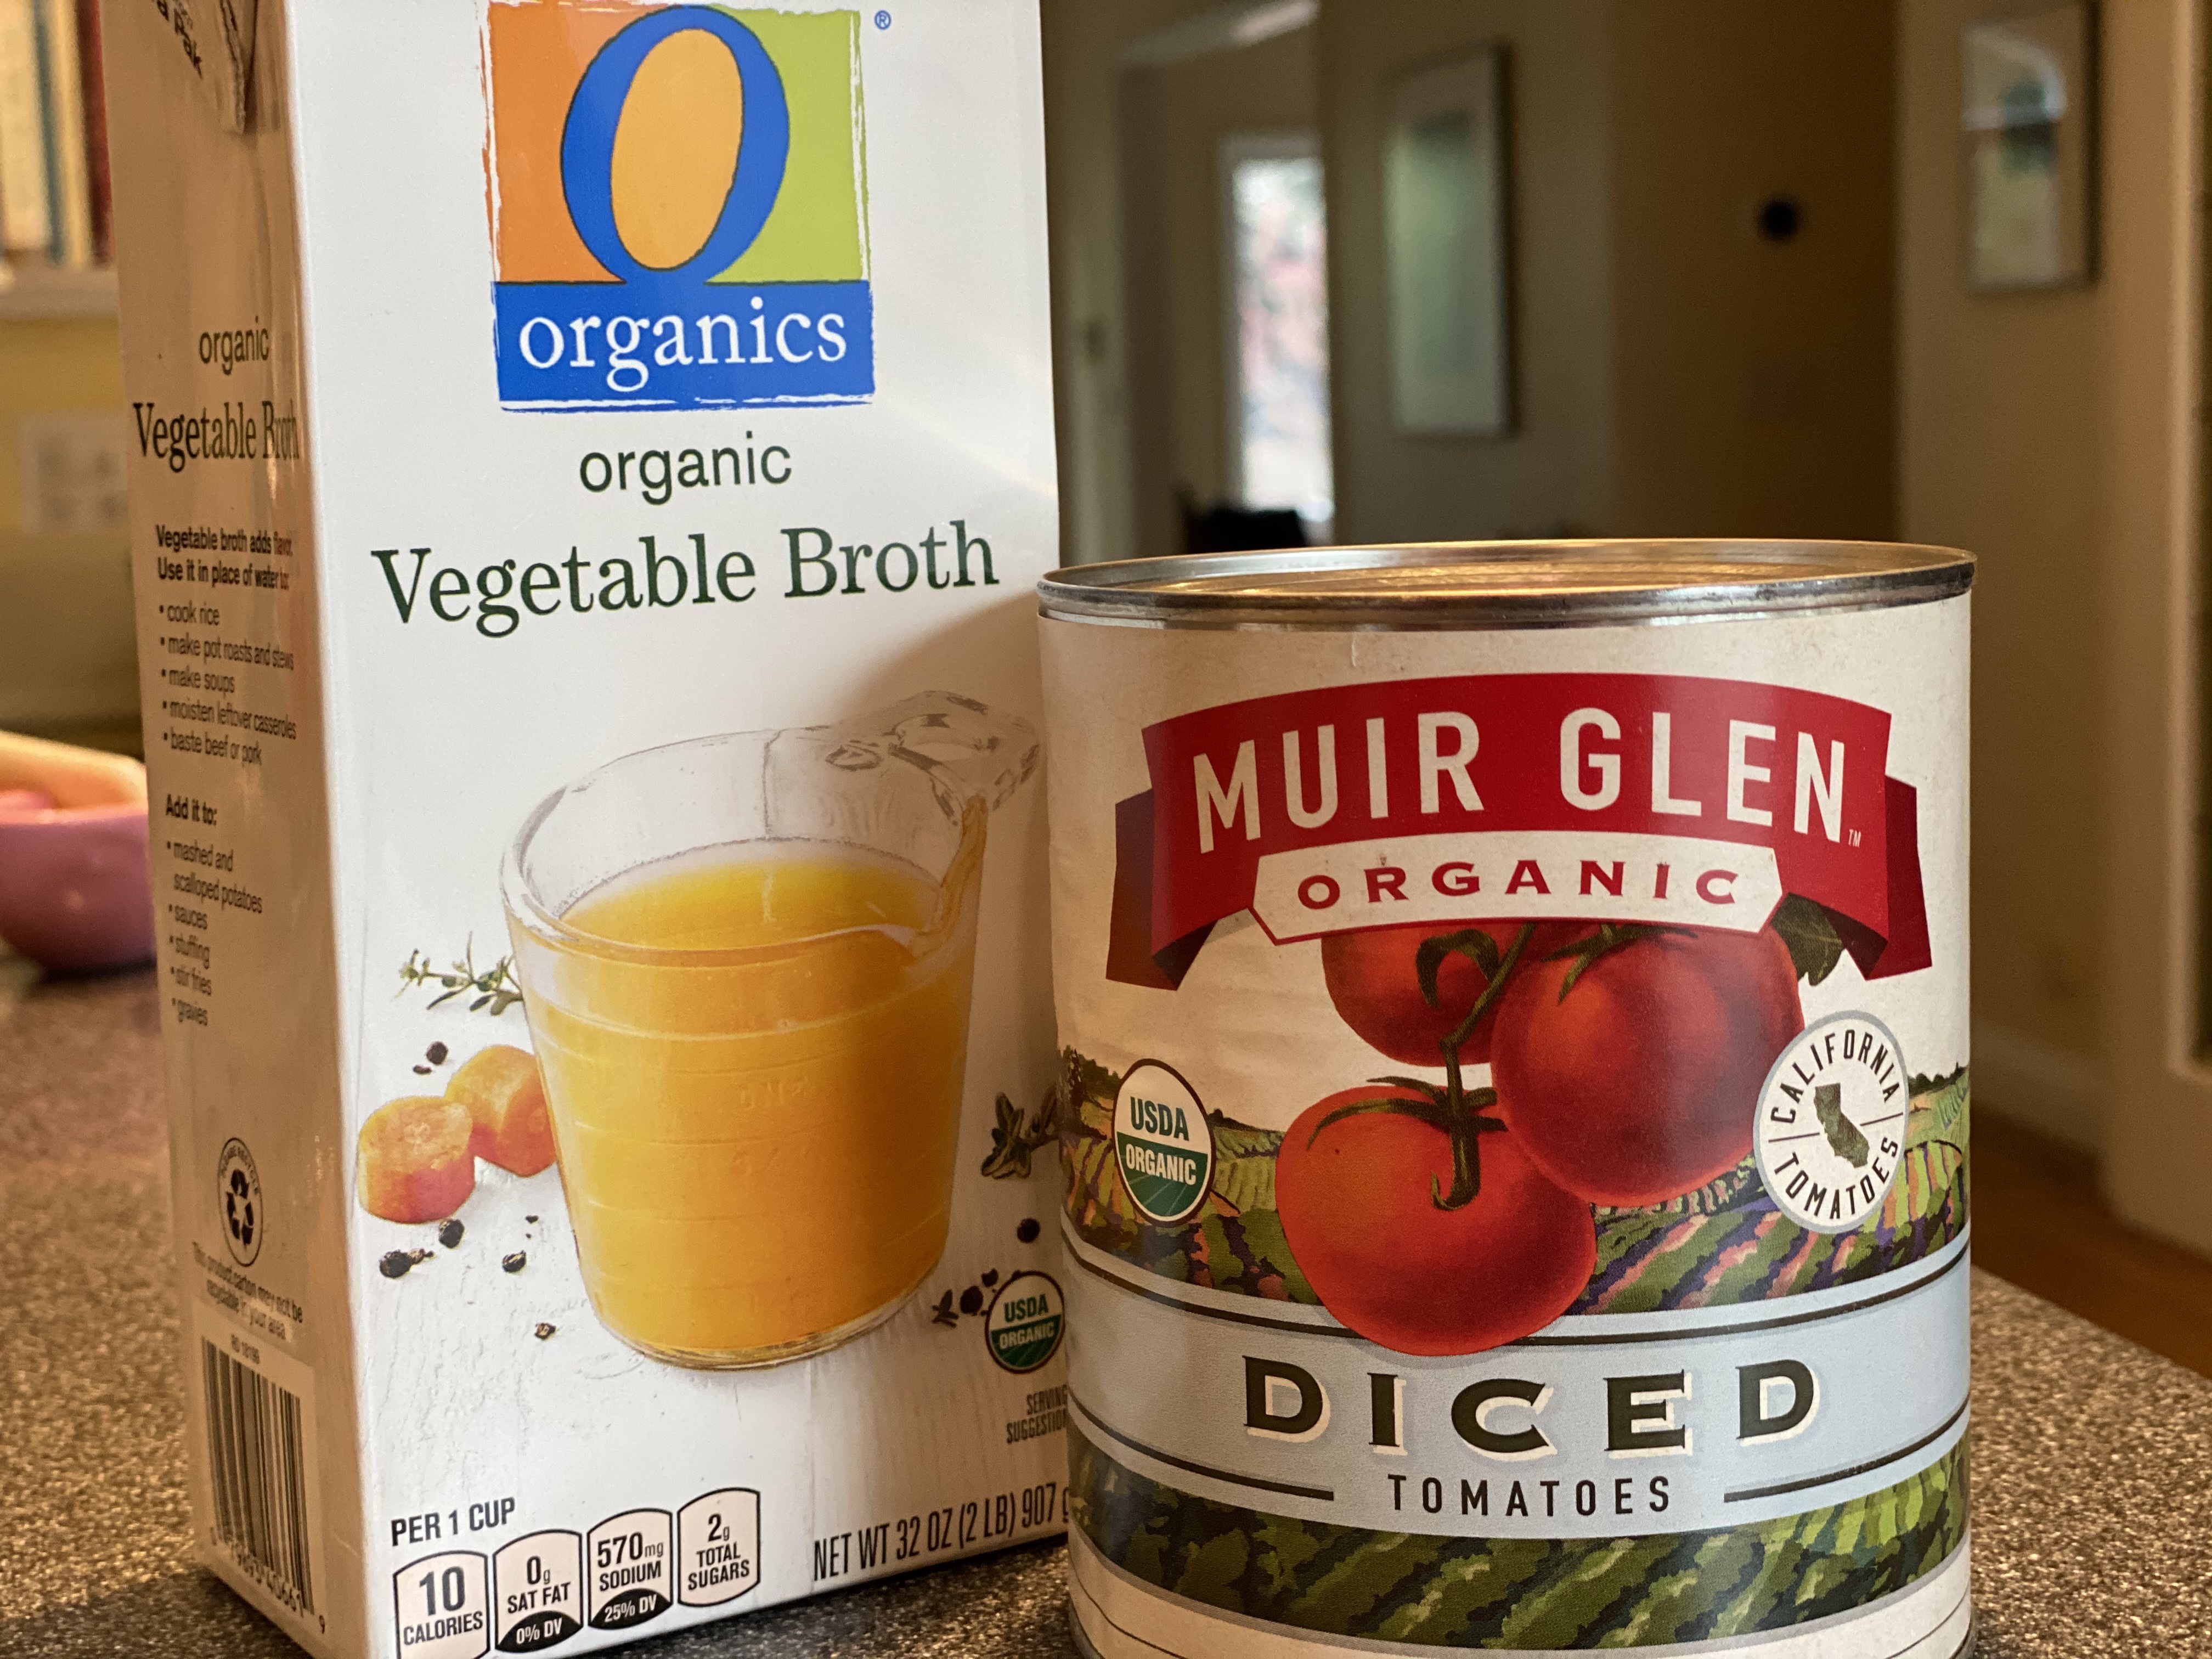
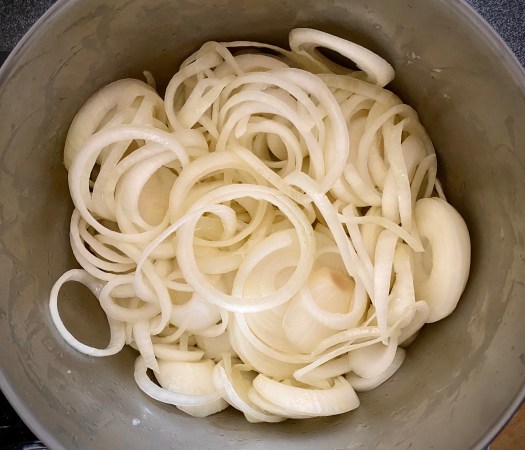
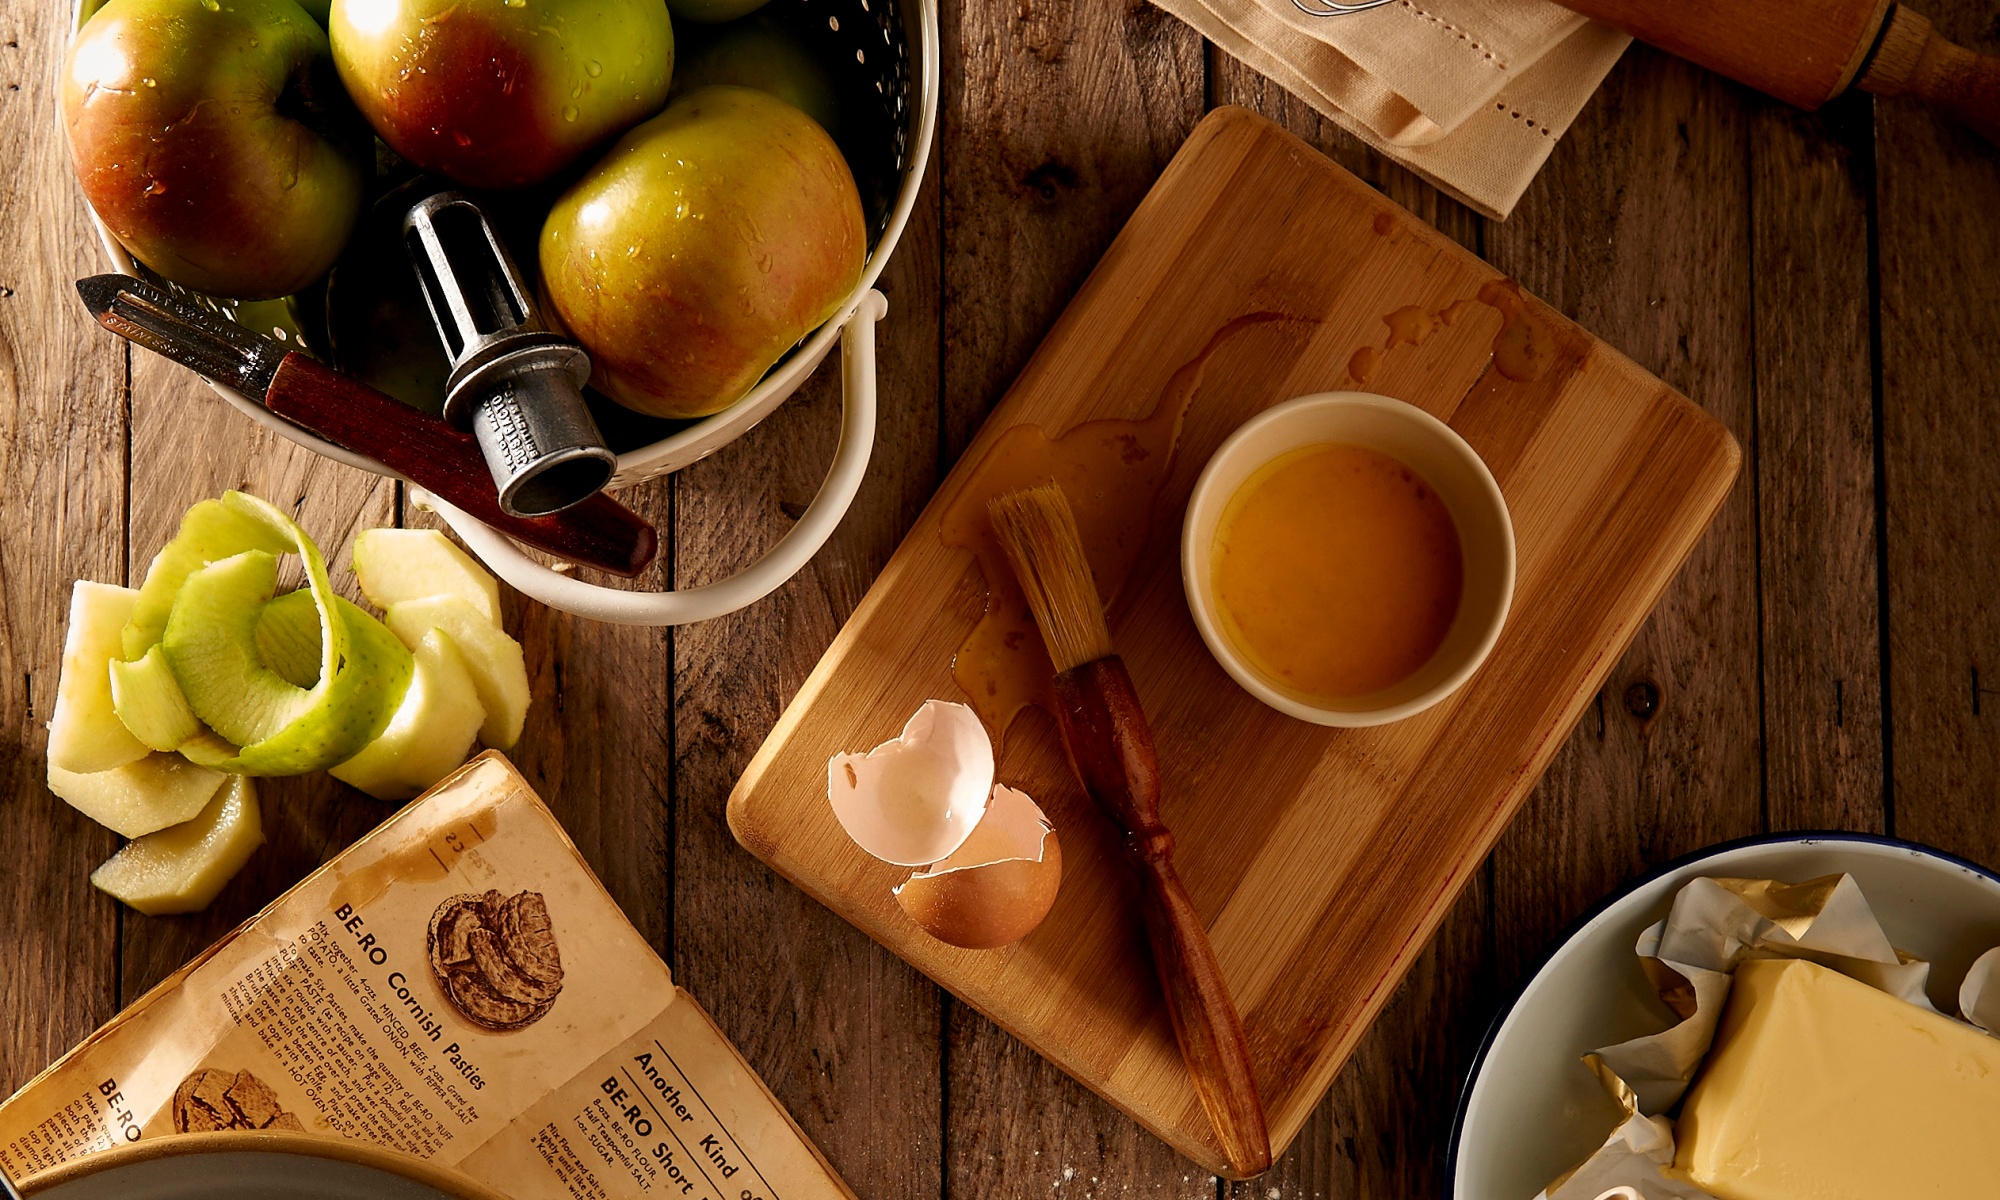
  • Sausage, apple and herb stuffing – based on a recipe by Ina Garten. We used Gala apples – although Granny Smith was recommended and might provide a little more apple flavor to the stuffing. We used a half-pound of Jimmy Dean regular pork sausage that we cooked ahead of time prior to sautéing the other ingredients before adding to the bread mixture. Some may want to use the full pound of sausage. Seemed like the 1 cup of chicken stock wasn’t enough so we used some additional to further moisten the bread cubes before putting into a 300 degree over for 30 minutes. We used the same oven as the turkey – we took the turkey out and put the stuffing in while slightly lowering the oven temperature. See: https://www.foodnetwork.com/recipes/ina-garten/sausage-and-herb-stuffing-recipe-1943434
  • Butter-poached carrots – On a whim (actually based on a tip from Sam Sifton in his Morning newsletter for the New York Times) we made a small side dish of butter-poached carrots for the first time. “It doesn’t seem that butter, water and salt should result in carrots that taste this supremely of carrots, but the magic is evident in the incredible distilled carrot flavor, thanks to a little technique.” Couldn’t be easier – butter, water, salt – bring to a vigorous simmer for 10 minutes and you’re done. Instead of sliced carrots, I used a couple of handfuls of the mini carrots we get for snacking. Turned out great. A local steakhouse we enjoy visiting serves a side of broccoli and carrots with their steaks – and I’ll bet they’re using a simple recipe like this to prepare them. See: https://cooking.nytimes.com/recipes/1026250-butter-poached-carrots
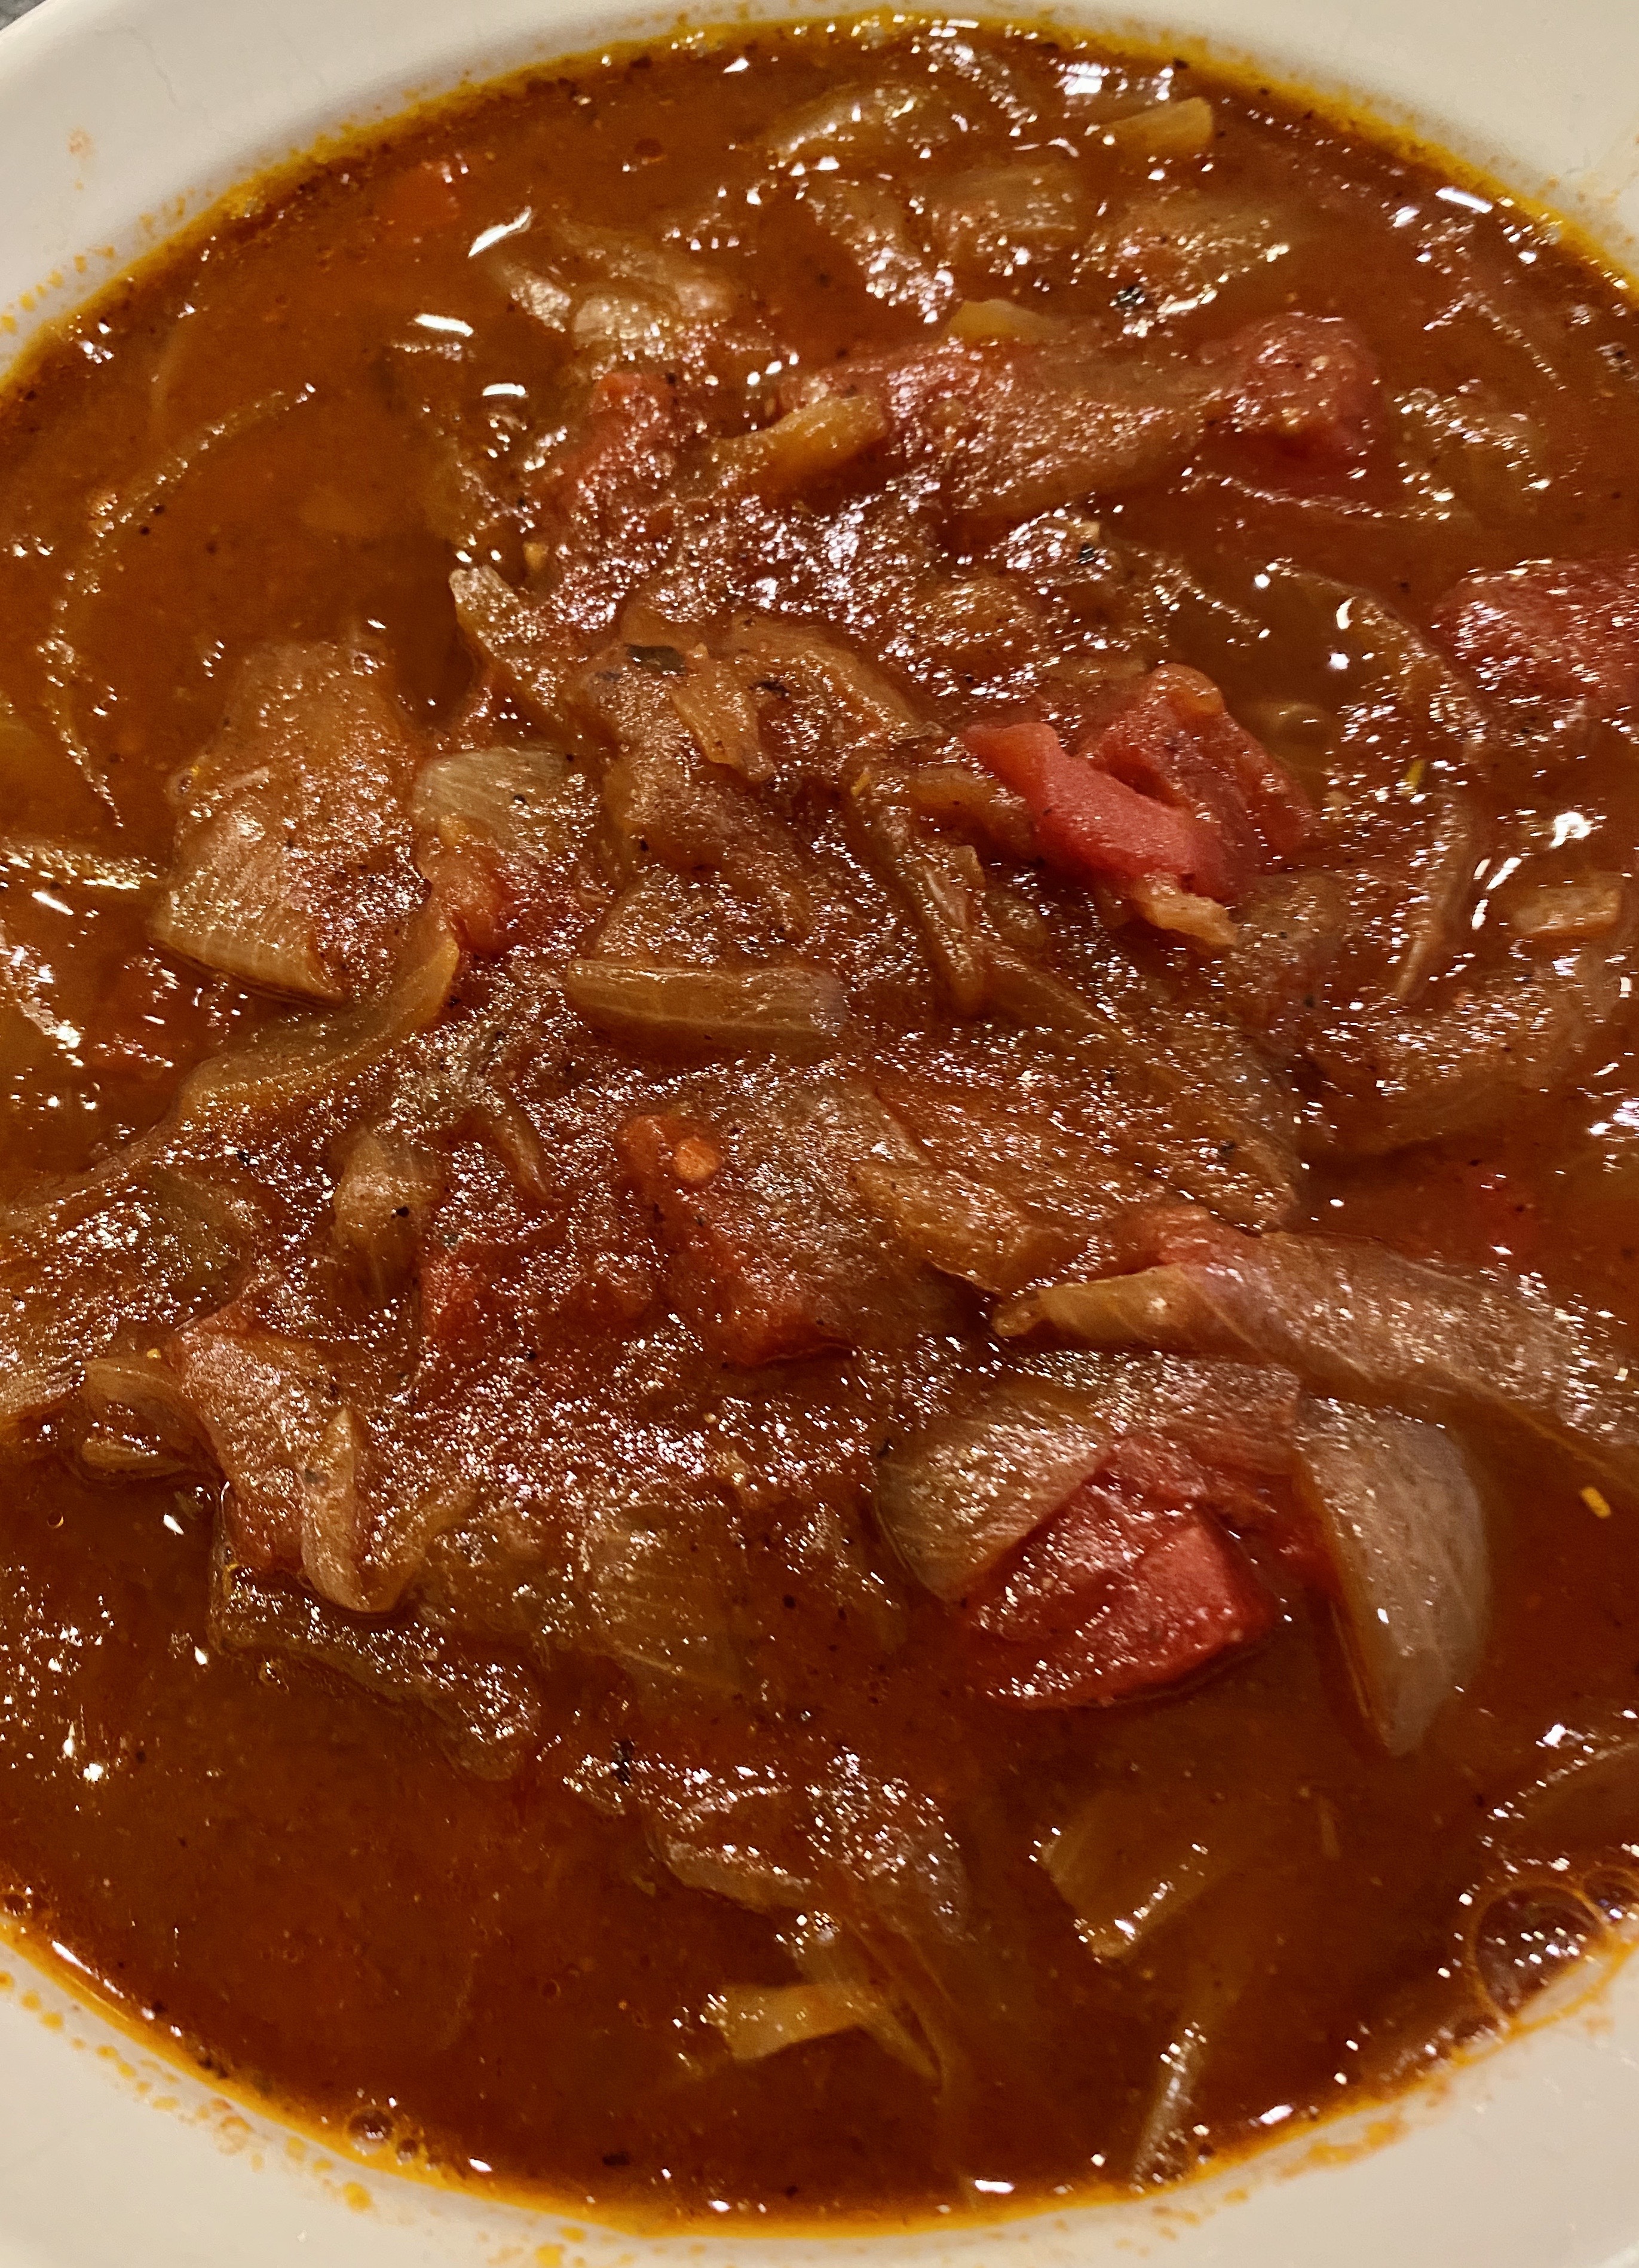
  • Mashed potatoes and gravy – we used some local store-bought potatoes and gravy this year. Heated up in the microwave – couldn’t have been easier!
  • Missing this year: no rolls or bread (other than the stuffing). We also had some green beans we thought we’d sauté but decided that we had enough with the carrots, stuffing, etc. so skipped making them.
  • Dessert: For dessert we had a box of frozen chocolate cheesecake bits from Trader Joe’s which we just right – small but flavorful way to end the otherwise big meal! See: https://www.traderjoes.com/home/products/pdp/chocolate-cheesecake-bites-077104

We started cooking about 2 PM and sat down for dinner about 5 PM. Not too much work and a wonderful Thanksgiving meal!

Diestel Bone-In Organic Turkey Breast – after cooking

PS: that stuffing is even better the day AFTER Thanksgiving!

Pan-seared Ahi Tuna with Wasabi Vinaigrette

The fish monger at our local Sunday morning farmers market has been carrying fresh ahi tuna. We always enjoy fresh tuna for a delightful light Sunday supper that’s quick and easy to prepare. We’ve been enjoying the tuna with a simple wasabi vinaigrette dressing. Be sure you buy only the freshest high-quality tuna as this recipe only lightly pan-sears it.

Preparation is fast and easy – prepare the vinaigrette, dip the tuna into it and then quickly pan-sear it.

A quick and easy recipe for pan-searing fresh ahi tuna flavored with a wasabi-based vinaigrette.


Ingredients

  • 1 Ahi Tuna Steak (we prefer 0.8 lbs for two people – make sure the tuna is very fresh and of highest quality!)
  • 
1 tbsp Black Pepper
  • 
1 tsp Kosher Salt
  • Wasabi Vinaigrette:

  • 1 tbsp Olive Oil

  • 1 tbsp Soy Sauce
  • 
1 tbsp Apple Cider Vinegar

  • 1 tsp Wasabi Paste

  • 1/2 tsp Sesame Oil

  • 1/2 tsp Lemon Juice

Directions

  1. In a small bowl large enough to hold the tuna, prepare the wasabi vinaigrette and coat the tuna with it. Liberally season the tuna with salt and fresh ground pepper.
  2. Heat a small sauce pan on high and then add the tuna.
  3. Quickly sear the tuna for 2 mins – then flip and sear for 2 mins on the other side.
  4. Remove from pan and immediately slice thinly. Serve quickly with additional soy sauce and wasabi in a small dish. Use your chopsticks!

Enjoy!…

Roasted Strawberries Galore!

This is a wonderful time of year at our local farmers markets – the fruits and vegetables are at the height of their ripeness with flavors so good and tasty. It’s peak flavor season now for these local strawberries so last week I picked up some at one of our markets – three baskets worth.

Roasted Strawberries

The problem with strawberries – if it’s really a problem?! – is how quickly they can turn soft, mushy and spoil. Keeping them in the refrigerator doesn’t really solve the problem – unlike for most other fruits and vegetables.

The next morning after I had brought home my generous load of strawberries, I coincidentally received an email from Jacobsen Salt Co. with a recipe for roasting strawberries – what a great idea! We’re fans of Jacobsen’s many salts which originate from Netarts Bay on the Oregon Coast (see their story). We also really enjoy Jacobsen’s steak seasoning – it’s perfect to use with our New York steak recipe.

But back to the strawberries and Jacobsen’s recipe suggestion: Roasted Strawberries with Crème Fraîche and Flaky Sea Salt. Basically, the recipe (credited to Rebekah Peppler) involves slicing the larger berries, tossing with 2-3 Tbsp of sugar, and a bit of water into a baking dish then into a 375 degree oven for 30-40 minutes. Let the mixture cool, sprinkle with a bit of sea salt and you’ve got a delicious strawberry topping to go over vanilla bean ice cream, yogurt, etc. Save leftovers in the refrigerator – you’ll have a day or two more of delicious desserts!

Thanks to Jacobsen Salt Co. for this delicious and timely recipe!

Easy New York Steak on the Stove

We enjoy charcoal grilled steak – or burgers – but sometimes it’s just too much of a hassle to get the Weber fired up for only cooking a steak. Our reliable fallback method is to simply cook the steak on our gas stovetop. Here’s our easy method for cooking a delicious steak on the stove – along with a couple of side dishes. Cooking should take you about 15-20 minutes.

We usually buy a 1 lb New York steak which we will split into two portions. It’s important to take the steak out of the refrigerator 30 minutes before cooking to let it come up to room temperature. Here’s a NY steak – seasoned and resting to warm up a bit:

New York Steak

To cook the steak, I like to use the 3-3-2-2 method popularized by Rob Leavitt. Heat the pan using medium-high heat. Cook the steak 3 minutes on the first side, then flip and cook 3 minutes on the other side. Then flip again to cook for 2 minutes and a final flip to cook for 2 minutes. Check the steak with a meat thermometer to be sure it’s at your desired doneness level – then remove it from the pan to a cutting board and let rest for 5 minutes. You can then either cut the steak into two pieces – or – slice it and serve all of the slices communally on a plate.

We like to either sauté fresh baby spinach or cook a russet potato in the microwave to accompany our steak. Sometimes we even have both!

Sautéed spinach is easy: in a large skillet heat a bit of olive oil and then toss in the spinach. We typically use a half of one of the large baby spinach containers for dinner for two. While the spinach is sautéing, add in a touch of minced garlic and a splash of lemon juice. I usually start the spinach sautéing a minute or two after firing the steak.

A baked potato cooks in about six minutes on high in our microwave. Poke a few holes in the potato and wrap it in a paper towel before putting in it a cereal bowl and then into the microwave.

[Originally posted: May 14, 2021]

Saturday Afternoon Tomato-Onion Soup

Here’s a great tomato-onion soup dish I made this afternoon after having a wonderful similar soup last week at Biba’s Ristorante in Sacramento! This takes some time but doesn’t require constant attention – ideal for a lazy afternoon where you might be reading or working on other things as well!

Try serving it with a piece or two of cheese toast! And, like great pot roast, this soup is even better warmed up the next day! It’s truly a treat and much more fun and tasty than just onion soup.


Ingredients

  • 5 yellow onions, sliced
  • 1 can diced tomatoes – 28 oz (I prefer Muir Glen organic)
  • 1 qt vegetable broth
  • 2 Tbsp olive oil
  • Salt, pepper to taste

Directions

  1. In large pot heat olive oil and add onions. Medium heat.
  2. After 10 minutes stir, turn heat to low and cover for 20 minutes. Onions should be beginning to carmelize.
  3. Uncover and sir periodically. About 40-45 minutes total.
  4. 4, Add diced tomatoes and vegetable broth. Bring to boil. Reduce heat to low and simmer for 30-40 minutes before serving.

First posted: January 18, 2020

Scott’s Slow Oven-Roasted Tri-Tip

The most popular recipe on ScottsKitchen.com has been my 2005 recipe for oven roasted tri-tip roast. I’ve made tri-tips with that recipe dozens of times (or so it seems!).

More recently, I’ve re-discovered the tenderness benefits of slow roasting beef. There’s another recipe here (2009 Recession-Era Slow-Roasted Roast Beef) that demonstrates that technique. Turns out that technique is used by deli’s to make their roast beef for slicing and sandwiches. It both minimizes the weight loss from cooking the beef plus it allowed cheaper cuts of beef to be used as well.

Turns out that slow roasting can be useful with tri-tip roasts as well. My version using this process follows below. Give it a try and let me know how it works for you!

Ingredients

  • 2.5 to 3 lb tri-tip roast
  • 2 Tbs olive oil or other cooking oil
  • Plenty of salt and fresh ground pepper

Directions

  1. About 30 minutes ahead of time, bring the tri-tip out of the refrigerator to allow it to begin warming.
  2. About 15 minutes ahead of time, pre-heat the oven to 350 degrees.
  3. Add 2 tablespoons of olive oil or other cooking oil to a large, heavy ovenproof pan. Heat pan on high.
  4. When the pan is very hot, add the tri-tip, fat side down. Turn heat to medium-high and sear roast for about 4 minutes. Turn the roast and put the pan with the tri-tip into the oven.
  5. Immediately turn the oven down to 225 degrees. Cook roast for about 15 minutes a pound, checking with an instant-read thermometer after 30 minutes. When it reaches 130 degrees it’s medium-rare and time to take the pan out of the oven.
  6. Remove tri-tip to cutting board. Wrap tri-tip in aluminum foil and leave for 10-15 minutes to allow the juices to settle.
  7. Remove tri-tip from the foil and thinly slice it against the grain (in other words, across the grain). Serve on a platter – BBQ sauce or steak sauce totally optional.

(Added: December 17, 2019; Updated: December 24, 2020)

Tri-tip ready for the oven

In the oven-proof skillet about to go into the oven at 350 degrees – and immediately turned down to 225 degrees.

Sliced slow-roasted tri-tip ready to eat – delicious!

Note the beautiful color that this slow roasting technique produces!

Welcome Back!

I’m very pleased to have brought this site – my recipe/cooking blog – back to life after a couple of years of neglect!

The old standby recipes are still here in a freshened up wrapper with this new design and hosting setup. FYI, far and away the most popular recipe here over the years has been my ‘Lazy-S Tri-Tip‘ recipe. Another surprisingly popular article describes how to use the Williams-Sonoma Cooking Probe Thermometer. Finally, there’s the most recent recipe from 2018 about making delicious short ribs.

I’m looking forward to getting back into more posting here in 2020! Meanwhile, lots of holiday cooking ahead – enjoy yours!