More recently, I’ve re-discovered the tenderness benefits of slow roasting beef. There’s another recipe here (2009 Recession-Era Slow-Roasted Roast Beef) that demonstrates that technique. Turns out that technique is used by deli’s to make their roast beef for slicing and sandwiches. It both minimizes the weight loss from cooking the beef plus it allowed cheaper cuts of beef to be used as well.
Turns out that slow roasting can be useful with tri-tip roasts as well. My version using this process follows below. Give it a try and let me know how it works for you!
Ingredients
– 2.5 to 3 lb tri-tip roast
– 2 Tbs olive oil or other cooking oil
– Plenty of salt and fresh ground pepper
Directions
1. About 30 minutes ahead of time, bring the tri-tip out of the refrigerator to allow it to begin warming.
2. About 15 minutes ahead of time, pre-heat the oven to 350 degrees.
3. Add 2 tablespoons of olive oil or other cooking oil to a large, heavy ovenproof pan. Heat pan on high.
4. When the pan is very hot, add the tri-tip, fat side down. Turn heat to medium-high and sear roast for about 4 minutes. Turn the roast and put the pan with the tri-tip into the oven.
5. Immediately turn the oven down to 225 degrees. Cook roast for about 15 minutes a pound, checking with an instant-read thermometer after 30 minutes. When it reaches 130 degrees it’s medium-rare and time to take the pan out of the oven.
6. Remove tri-tip to cutting board. Wrap tri-tip in aluminum foil and leave for 10-15 minutes to allow the juices to settle.
7. Remove tri-tip from the foil and thinly slice it against the grain (in other words, across the grain). Serve on a platter – BBQ sauce or steak sauce totally optional.
(Added: December 17, 2019; Updated: December 24, 2020)
Tri-tip ready for the oven
In the oven-proof skillet about to go into the oven at 350 degrees – and immediately turned down to 225 degrees.
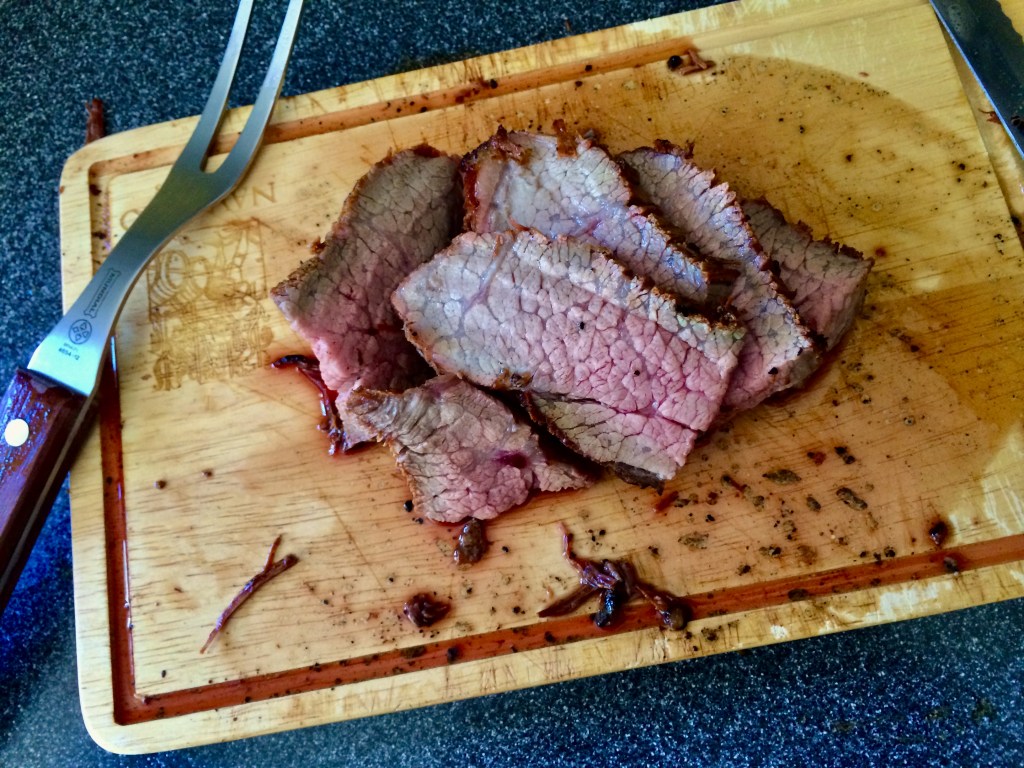
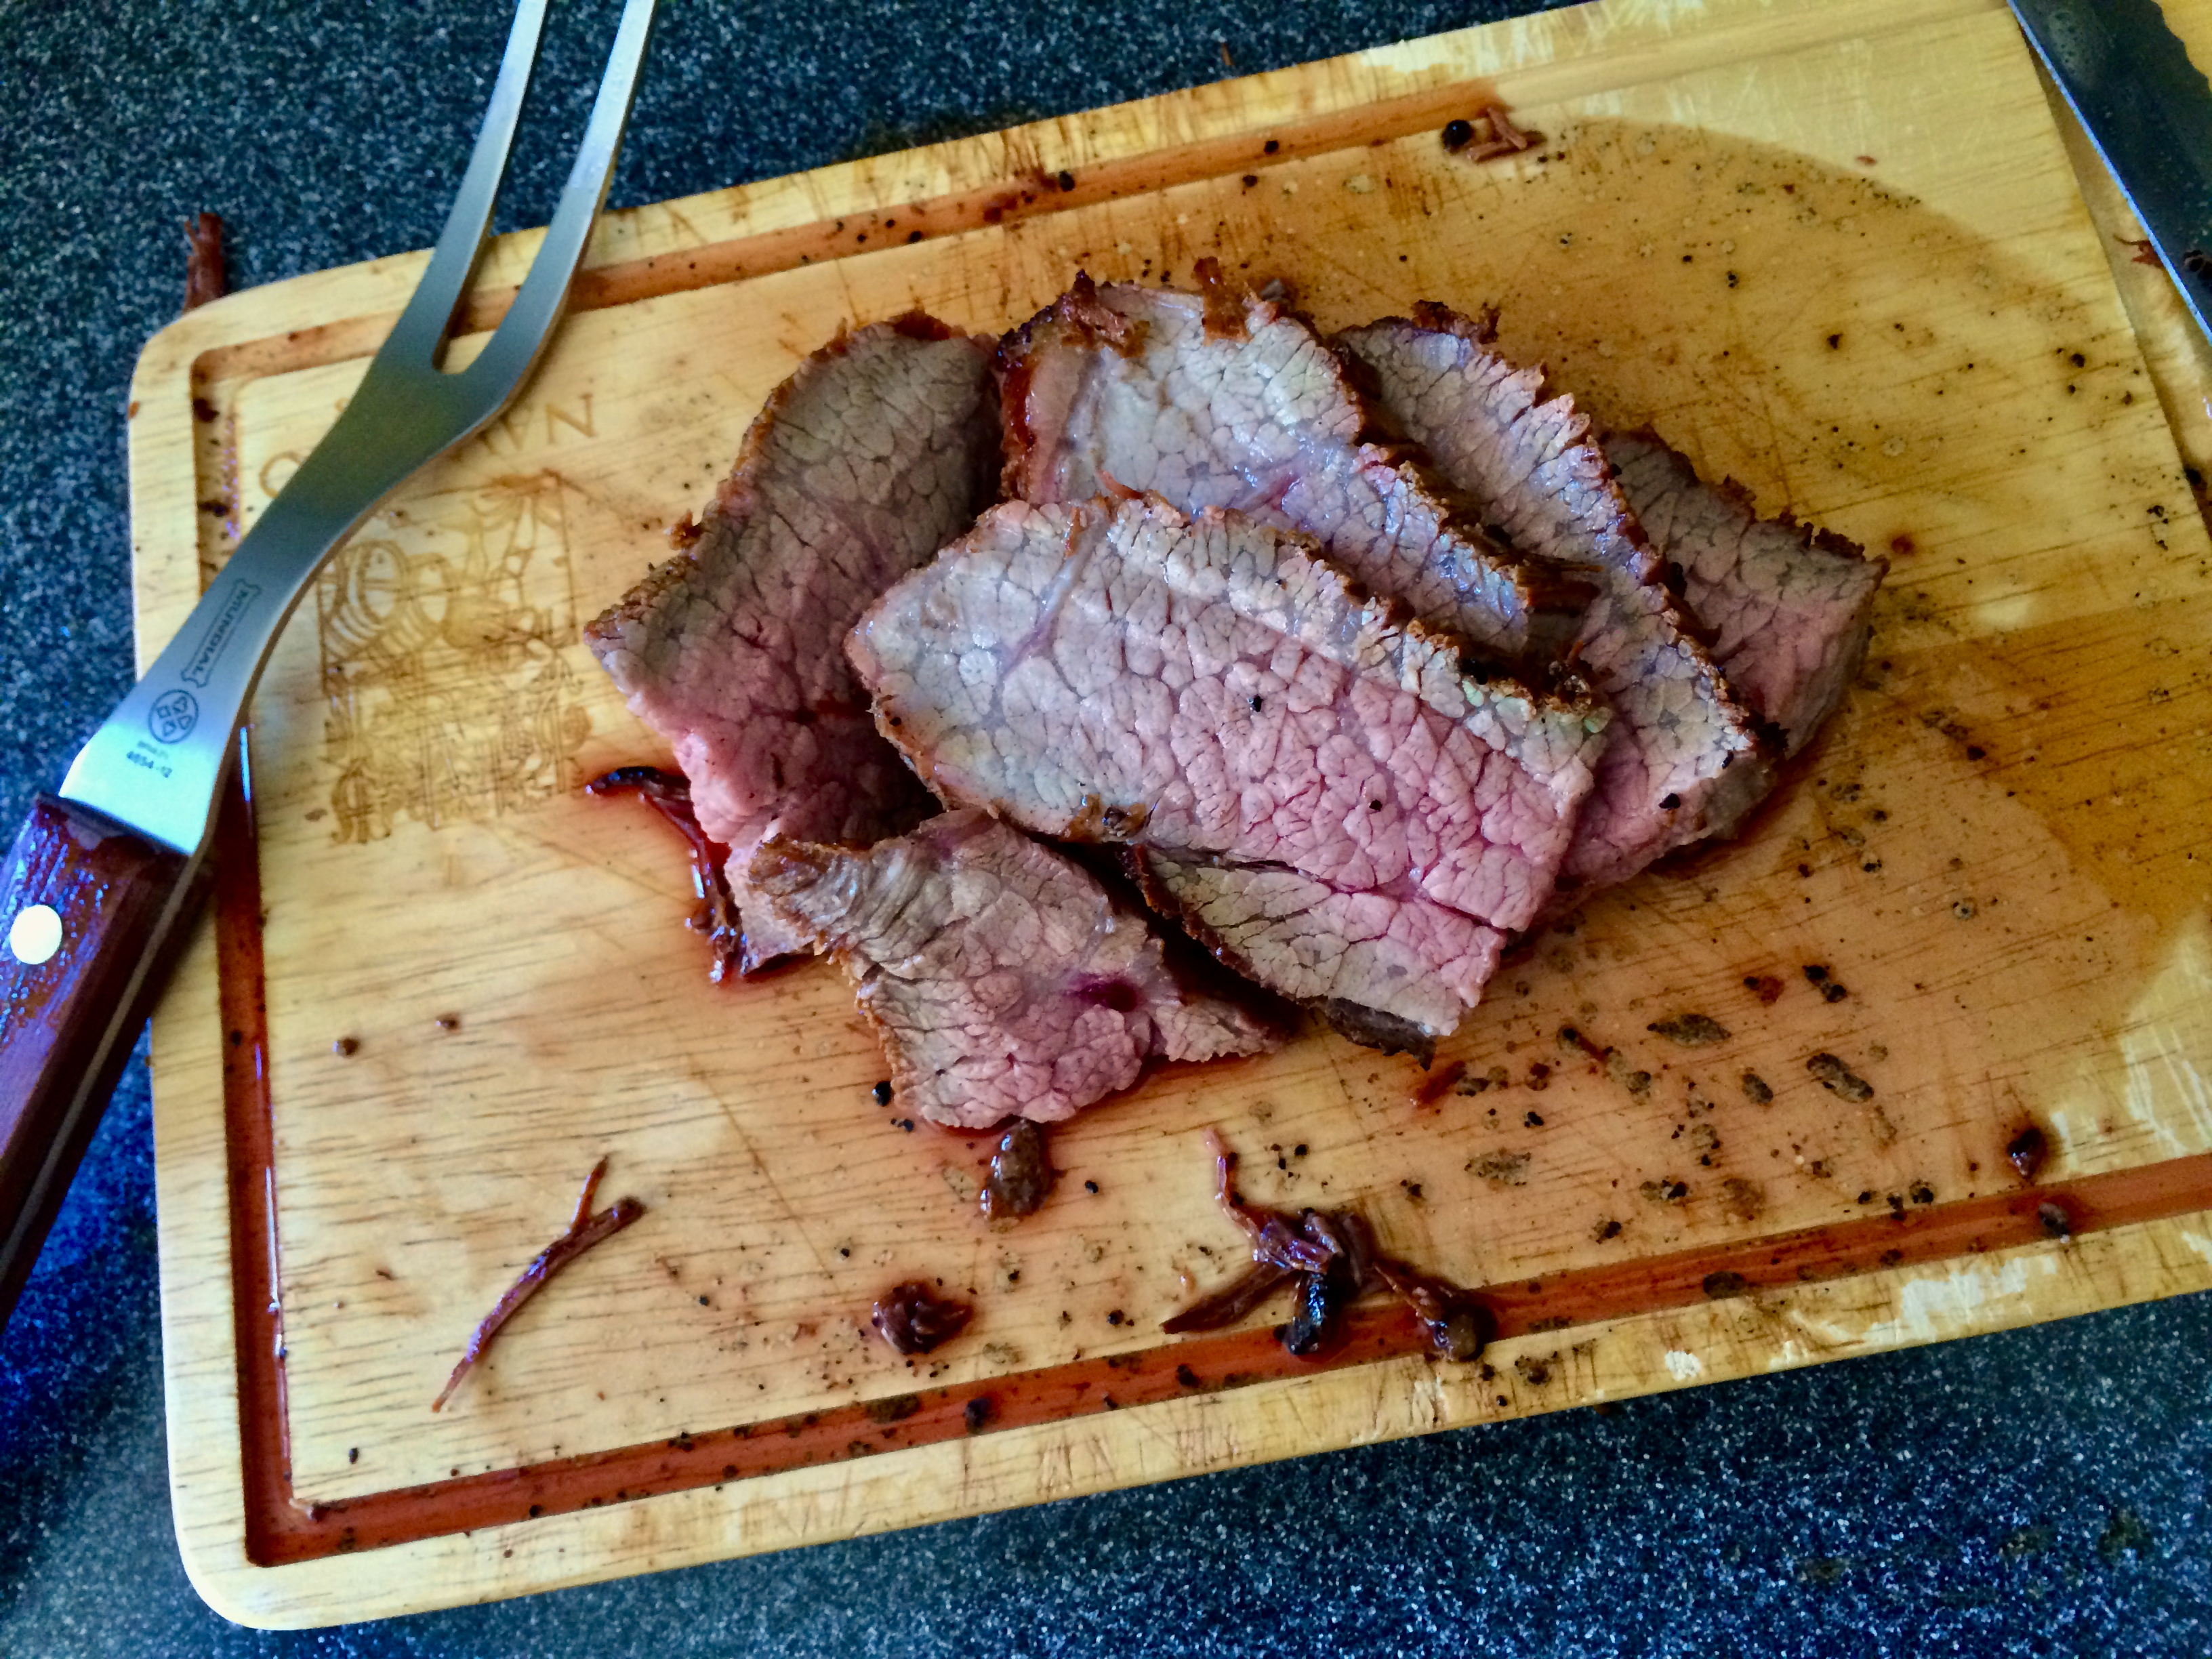
Sliced slow-roasted tri-tip ready to eat – delicious!
Note the beautiful color that this slow roasting technique produces!
For our large Christmas Eve family get togethers, we like to serve main course meat entrees that are really easy to eat in a buffet style setting – without formal sit down dinner place settings for every guest. Most of our guests will be eating with their plate in their lap, so something lovely like a slow-roasted prime rib just won’t do.
We’ve settled on serving a combination of honey baked ham, just heated to room temperature in a 450 degree oven for little more than 5 minutes, and beef tri-tip roasts. The ham is super easy to prepare, comes basically pre-sliced (spiral cut) and preparation literally requires unwrapping it, putting it briefly in the oven to warm and then choosing which serving platter to use to present it! A couple of choices in gourmet mustards to accompany the ham and that half of the main course is ready to go!
For the tri-tips, we usually get three of them and try different rubs/marinades. My Dad particularly likes his beef plain – so one of the tri-tips will always just be salt and pepper rubbed. The others get a bit more exotic! But the rub’s not the point – the easy preparation in the oven is what these tri-tips are all about.
Doing the tri-tips in the oven sacrifices a bit of the smoky flavor from the Weber BBQ version — but the super-easy preparation and not having guests following me out onto the patio!) makes the oven version perfect for winter-time cooking and entertaining. But you’ll want to do the rubs (or marinades) enough in advance to ensure the beef ends up being very flavorful.
I call these my “Lazy-S” tri-tips – Lazy-S for Lazy Scott! Note: As I’m writing this, it strikes me that beef short ribs might just be another great holiday buffet dish. I mean the kind that have already fallen off the bone after hours of braising! I’ll have to experiment with that sometime – although on a day when I’ve got the energy and dedication required to tend short ribs much of the day!
[June 2008 Update: Looking to BBQ your tri-tip instead of roasting it in the over? See my latest, field-tested (!) recipe for grilling tri-tip on a Weber charcoal BBQ!]
After breakfast on the day you’re entertaining, prepare the tri-tip using whatever rub or marinade you prefer. I like to use coarse sea salt (applied heavily) along with whatever rub I’ve chose. For the plain version my Dad prefers, it’s just the coarse seal salt and some fresh ground pepper. After rubbing/marinading, put each tri-tip into a large Ziplock-style plastic bag, remove as much air as possible, seal it, and put it back in the refrigerator. Have a nice day!
When you’re ready to cook, here’s the drill. Allow an hour from this point to serving.
Take the tri-tips out of the refrigerator and their Ziplock bags and begin letting them warm to room temperature. Place the tri-tips into a suitable oven roasting pan (I prefer to use Pyrex baking dishes because they clean up so readily!) Preheat the oven to 450 degrees.
When the oven’s warmed up to 450 degrees, put the roasts into the oven and roast for 10 minutes at 450 degrees.
Open the oven and cover the tri-tips with aluminum foil. Reduce the heat to 350 degrees and roast for 15 minutes.
Open the oven and remove the foil. Continue roasting at 350 degrees for a final 15 minutes.
At this point, the meat has roasted for a total of 40 minutes and should be just right for medium-rare — but you can’t serve it yet. Remove the tri-tips from the oven and re-cover with foil. Let them sit for 15 minutes outside the oven.
Now they’re ready! At 55 minutes from when you started, remove the foil, place a tri-tip on a cutting board and slice 1/4 inch slices diagonally across the grain. Each slice will end up being 1-4 inches in length. Serve on a platter with accompanying sauces – BBQ sauce, steak sauce are good to have along side.That’s it. Enjoy! Serve with a side of Perfect Roasted Potatoes for a special treat! (Note that a second oven may be required for their combined preparation because of the temperature gymnastics used in both recipes!)